DIY painting is something most homeowners consider at some point. It’s easy to think a good paint job is just about picking a colour, grabbing a brush, and getting started, but it’s not that simple.
A great paint job depends on both the quality of the paint and the condition of the surface, and surface integrity only comes from doing the prep work properly. Here are the essential prep steps that set the foundation.
Step 1: A Good Cleaning
A wall that needs painting is rarely a clean, blank surface. Painters often encounter dust, cobwebs, stains, holes, and other buildup, even in homes that have been lived in for decades. The point is simple: you never truly know what’s on your walls until you look closely.
Treat your walls with the same care you would any other surface in your home. In most cases, warm water and a sponge are enough to remove everyday dirt and grime. If mildew is present, professionals recommend using a solution of three to four parts water to one part bleach.
Once the walls are clean, allow them to dry completely before painting to ensure proper paint adhesion and a smooth finish.
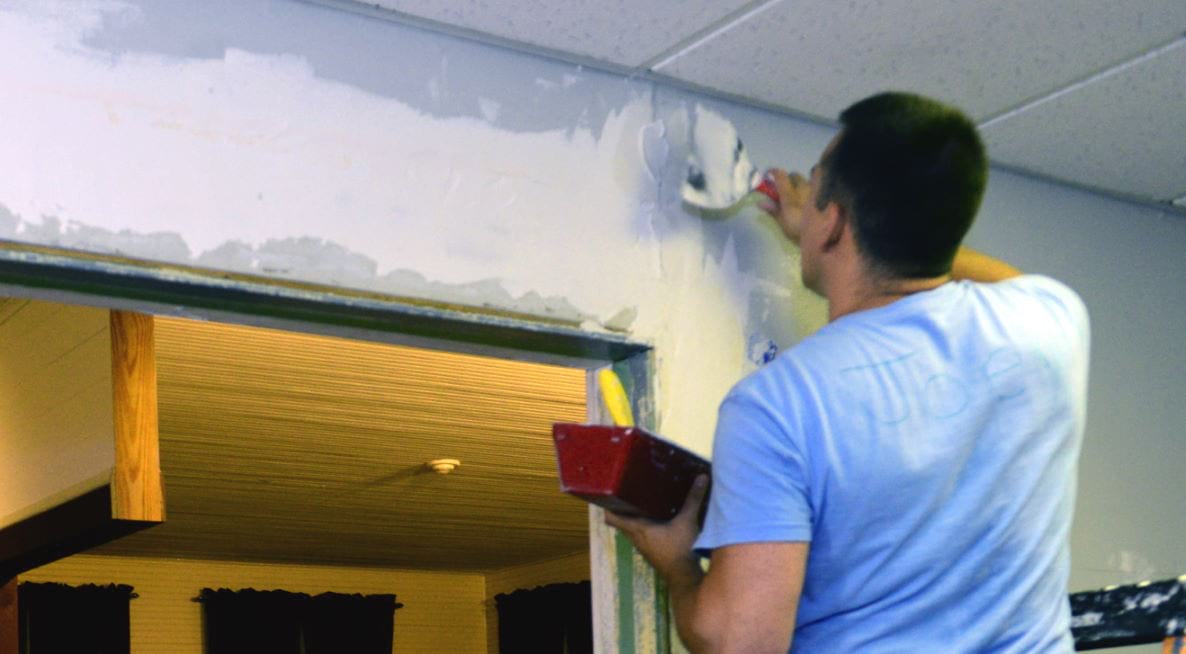
Step 2: Fixing the Damage
Whether it's an errant punch or a rodent hole that causes it, there are times when you'll have to actually do some repairs to your interior walls before painting. This sounds intimidating, but it isn't.
Many painters consider drywall compound (Spackle, joint compound) and the subsequent painting tools involved in the process as a regular part of their arsenal. This process simply involves mixing up the compound, applying it evenly, and then sanding it down to normality.
“Spackle” is generally used for smaller drywall repair jobs. It's often compared to a toothpaste-like texture, whereas joint compound (mud) is more often associated with big drywall seams. Either way, it's important to get the drywall as smooth as possible before applying even the first layer of new coating.
Step 3: Sanding
Sanding before painting is always a smart step. It smooths out small bumps and imperfections that can catch your brush or roller and ruin the finish. Sanding also lightly roughens the surface, helping the paint adhere better.
For most walls, fine 220-grit sandpaper is ideal to prepare the surface. On very rough or heavily worn walls, such as older cabin interiors, a much coarser grit may be needed to even things out before painting.
Step 4: Taping & Masking
This step isn’t just about preparing the wall; it’s about protecting everything around it. Even small paint jobs require taping crown moulding, window and door trim, and baseboards to prevent splatters and uneven edges.
Proper preparation means taping off all wall accessories and surfaces that shouldn’t be painted. Areas where a roller or sprayer can’t work precisely, such as trim, moulding, and edges, should always be taped. While taping may feel unnecessary, it’s essential for achieving clean lines and a professional-looking finish, especially for DIY painters.
Step 5: The Ins and Outs of Primer
To primer paint or not to primer, that is the question before you start painting a wall in your home. Interestingly enough, the answer to that inquiry relies on what is on the surface of your existing paint. If your current paint is water-based, simply apply a layer of new paint over it.
However, primer is recommended if glazing over semi-gloss, oil-based, or gloss. The main job of primer is to disguise imperfections, create a surface to lock on to, and ensure a solid, uniform finish. Therefore, priming a surface pre-paint would never do any harm.
If you are going to prime a wall before painting, make sure to cover every area you would with paint. Many homeowners make the mistake of failing to 'cut' with primer, which gives them a noticeably fainter area after the paint dries.
Summary
Before painting, make sure you’re working with a clean, suitable surface. Avoid painting over wallpaper, as it prevents proper adhesion.
Remember to also remove the wallpaper where applicable, or thoroughly wash the walls with soap and warm water to remove dirt. If you choose to use primer, apply it consistently to all surfaces. Finish by sanding down any imperfections so the final coat goes on smoothly and evenly.


)