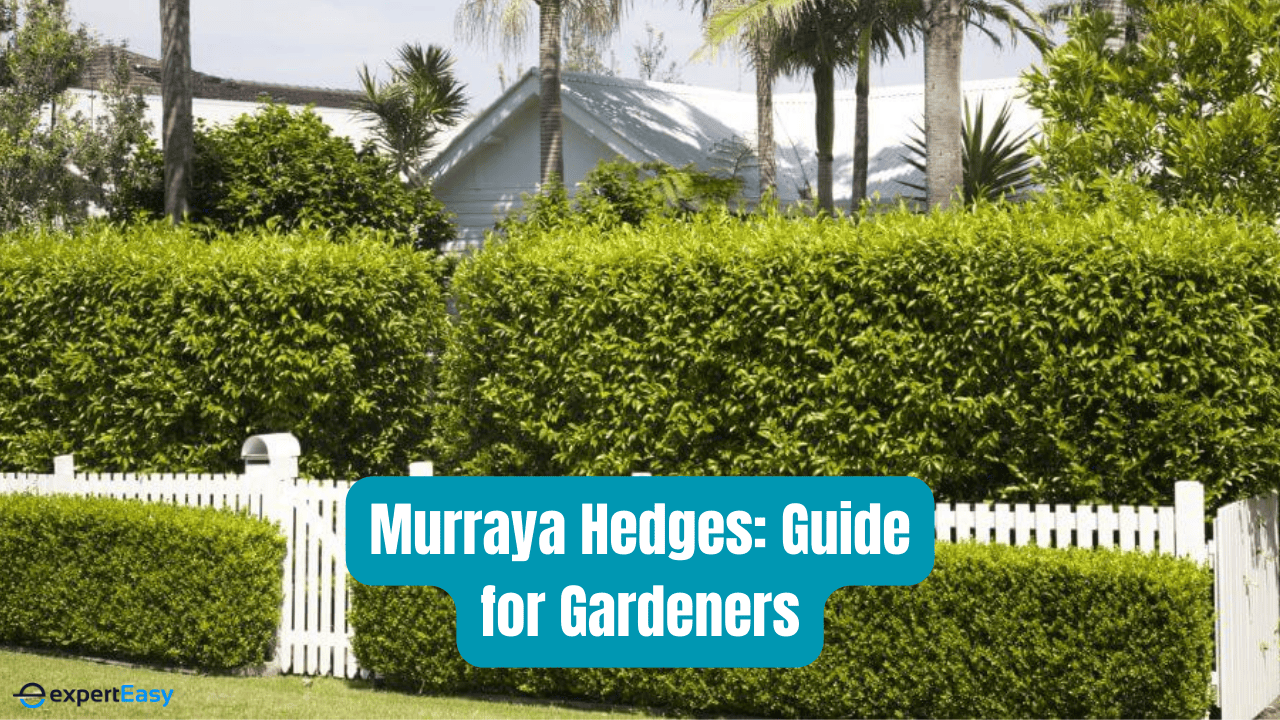
If you are considering planting Murraya hedges (Murraya paniculata), this guide will help you get started. Native to Southeast Asia, these evergreen plants are valued for their dense foliage, fragrant white flowers, and fast-growing nature.
Murraya hedges are popular with both experienced gardeners and beginners because they are relatively easy to maintain and work well for privacy screens, borders, and decorative landscaping.
In this guide, you will learn about the plant’s key characteristics, how to plant and care for it, and the best practices for growing healthy, well-shaped Murraya hedges in your garden.
Why Consider Murraya Paniculata?
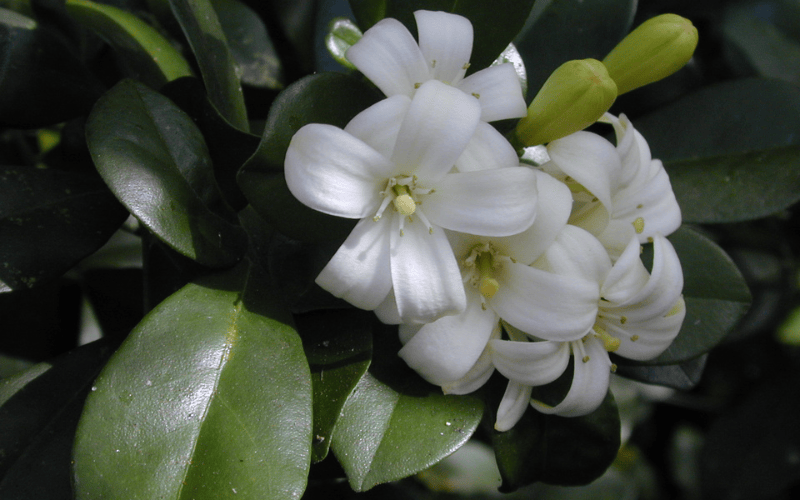
The appeal of Murraya hedges lies in their adaptability and dense growth. Also known as Orange Jessamine, Murraya paniculata is an evergreen shrub that forms a thick, compact hedge, making it a popular choice for privacy and garden screening. Its glossy dark green leaves and clusters of fragrant white flowers add visual interest and fragrance to outdoor spaces.
Murraya is also valued for its practical use as a privacy hedge or screen. With regular pruning, it can be shaped easily to maintain a neat and uniform structure. The plant is also relatively hardy, tolerating a range of soil conditions and showing good drought tolerance once established.
How to Choose the Perfect Murraya Hedge
When selecting a Murraya hedge for your garden, there are key factors to consider to choose a healthy and suitable option.
#1: Evaluate compatibility
Check the hardiness zone and climate requirements of the Murraya hedge cultivars you are considering. Ensure that the selected cultivar suits your local climate conditions, including temperature range, humidity, and frost tolerance. Generally, Murraya hedges prefer full sun to partial shade.
Also, evaluate the amount of sunlight your chosen planting location receives throughout the day and match it to the sunlight preferences of the Murraya hedge cultivar. For soil, seek well-draining soils with good fertility. You can assess your garden's soil type and pH level to ensure it aligns with the cultivar's preferences. If necessary, amend the soil to improve its quality before planting.
#2: Research cultivar characteristics
Different Murraya hedge cultivars offer unique features such as leaf colour, fragrance, or growth habit. Research various cultivars and their characteristics to find the one that best suits your aesthetic preferences and functional requirements.
You can visit local nurseries or garden centres known for their quality plants. And when you are ready to choose, ensure the specimen has vibrant foliage, no signs of pests or diseases, and robust root systems. Avoid plants that appear weak, damaged, or show any signs of stress, taking the other factors above into consideration.
#3: Check plant health
Inspect the leaves for any discolouration, spots, or signs of damage. Healthy leaves should be green, lush, and free from pests or disease symptoms. Additionally, examine the stems and branches for signs of pests, wounds, or structural issues.
For roots, gently remove the plant from its container and check the root system. Healthy roots should be well-developed, firm, and white or light-coloured. Avoid plants with roots circling the pot or that appear brown, mushy, or damaged.
How to Grow a Murraya Hedge?
Growing a Murraya hedge involves several steps to ensure successful establishment and long-term growth. Here's a step-by-step guide to help you develop a Murraya hedge:
Step 1: Select a site
Choose a suitable location for your Murraya hedge. Ensure it receives ample sunlight (4-6 hours of direct sunlight) and has well-draining soil.
Step 2: Prepare the soil
Prepare the soil by removing any weeds or debris from the planting area. Loosen the soil and amend it with organic matter, such as compost, to improve its structure and fertility.
Step 3: Manage the spacing and layout
Determine the spacing and layout of your Murraya hedge. Depending on the specific cultivar and desired density, space the plants accordingly. Typically, spacing around 30 to 100 cm between plants is recommended.
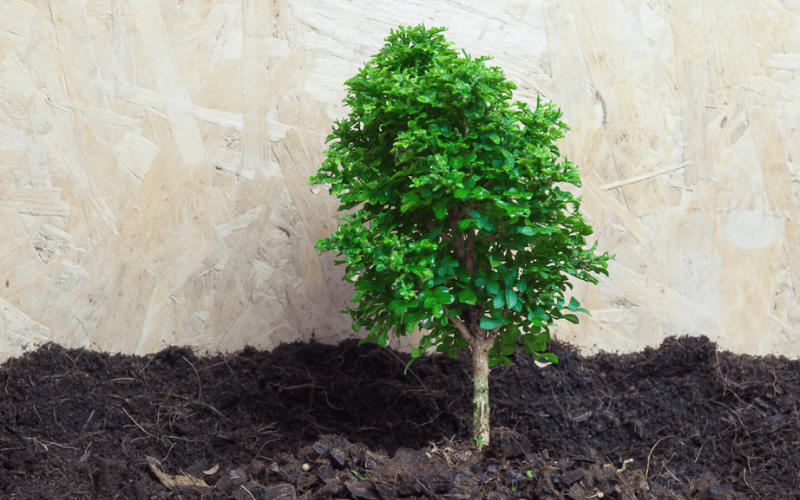
Step 4: Choose a plant
Select healthy Murraya plants from reputable nurseries or garden centres. Look out for the factors and key considerations discussed above in your selection.
Step 5: Planting
Dig a hole slightly wider and deeper than the plant's root ball. Gently remove the plant from its container and place it in the hole. Backfill the hole with soil, ensuring the plant is at the same depth it was in the container. Tap the soil lightly to remove air pockets.
Step 6: Watering
Water the newly planted Murraya hedge thoroughly to settle the soil around the roots. Provide sufficient water to keep the soil moist but not waterlogged. Water regularly, especially during dry spells or the establishment period.
Step 7: Mulching
Apply a layer of organic mulch, such as wood chips or bark, around the base of the Murraya hedge. Mulching helps conserve moisture, suppress weeds, and regulate soil temperature. Keep the mulch a few inches from the plant's trunk to prevent rot.
Step 8: Pruning
After planting, lightly prune the Murraya hedge to encourage branching and promote bushier growth. Trim any damaged or crossing branches. Wait until the hedge is established before shaping or more extensive pruning.
Step 9: Applying fertiliser
Apply a balanced slow-release fertiliser in early spring to provide essential nutrients for growth. Follow the package instructions for application rates. Avoid over-fertilising, as it can lead to excessive growth with weak branches.
Murraya Hedge Care Tips and Requirements
Here are some essential care tips to ensure your Murraya hedge thrives:
- Sunlight Requirements - Murraya hedge prefers full sun to partial shade. Ensure it receives at least 4-6 hours of direct sunlight daily for optimal growth and flowering.
- Soil Conditions - Plant Murraya in well-draining soil with good fertility. Amend the soil with organic matter like compost or well-rotted manure to improve its structure and nutrient content.
- Pest and Disease Control - Murraya paniculata is generally resistant to pests and diseases. However, keep an eye out for common issues like aphids, scale insects, and sooty mould. Treat any infestations promptly using appropriate organic or chemical controls.
- Cold Protection - In colder regions, Murraya may require protection from frost or freezing temperatures. Cover the plants or use frost blankets during extreme cold spells to prevent damage.
- Monitoring and Maintenance - Regularly inspect your Murraya hedge for signs of stress, pests, or diseases. Remove any fallen leaves or debris around the plants to prevent potential issues.
- Propagation - If desired, Murraya paniculata can be propagated through cuttings. Take semi-hardwood cuttings in spring or early summer and root them in well-draining soil or rooting medium.
Remember, providing consistent care, including watering, pruning, fertilising, and monitoring, will help ensure the health and vitality of your Murraya paniculata hedge. With proper care, you can enjoy its beautiful foliage and a delightful fragrance to the fullest as it enhances your garden’s visual appeal.
Common Issues of Murraya Hedge
While Murraya hedges are generally resilient and less prone to problems than other plants, they can still encounter a few issues. Here are some common problems that you may encounter with Murraya hedges:
#1. Pests
Common pests that trouble the Murraya hedge include:
- Scale Insects: These small, sap-sucking insects can cause yellowing leaves, leaf drops, and honeydew secretion. Use a horticultural oil or insecticidal soap to control them.
- Aphids: These tiny insects also feed on the sap of the plant, causing distorted growth and honeydew. They can be controlled with insecticidal soap or by introducing natural predators like ladybugs.
- Caterpillars: Some caterpillars may feed on Murraya foliage, causing leaf damage. Handpicking or using biological controls can help manage caterpillar infestations.
#2. Diseases
For diseases, look out for:
- Fungal Leaf Spot: This fungal infection can cause dark spots on the leaves, leading to leaf drop in severe cases. Ensure good air circulation, avoid overhead watering, and apply fungicides if necessary.
- Root Rot: Excessive moisture in poorly drained soil can cause root rot, leading to wilting, yellowing leaves, and eventual plant decline. Improve drainage and avoid overwatering to prevent this issue.
#3. Nutrient Deficiencies
Murraya hedges may experience deficiencies in essential nutrients like nitrogen, phosphorus, or iron. Symptoms include yellowing leaves, stunted growth, and poor overall health. Proper fertilisation and soil amendment can help address nutrient deficiencies.
#4. Environmental Stress
Extreme temperatures, particularly frost or freezing conditions, can damage Murraya hedges. Protect plants during cold spells with frost blankets or other coverings. Drought stress can cause wilting, leaf drop, and overall decline. Adequate watering, particularly during dry periods, prevents drought stress.
#5. Improper Pruning
Incorrect or excessive pruning techniques can also weaken the hedge, resulting in sparse growth or vulnerability to pests and diseases. Follow proper pruning guidelines and avoid over-pruning.
Monitoring your hedges regularly, promptly addressing any issues, and practising good garden hygiene will help maintain healthy and thriving Murraya hedges. If problems persist or worsen, consult with a local gardening expert or horticulturist for further assistance.
Frequently Asked Questions (FAQs)
Here are some frequently asked questions about the Murraya hedge.
How fast does a Murraya hedge grow?
Murraya hedges are known for their relatively fast growth rate. Under ideal conditions, they can grow approximately 30-45 centimetres (12-18 inches) per year. However, growth rates can vary depending on factors such as climate, soil conditions, and maintenance practices.
When is the best time to prune a Murraya hedge?
The best time to prune a Murraya hedge is after the flowering period. Typically, this occurs in late spring or early summer. Pruning at this time allows you to remove any spent flowers and shape the hedge without interfering with the next season's bloom. However, light pruning to remove dead or damaged branches can be done throughout the year.
Do Murraya hedges require a lot of water?
While Murraya hedges prefer regular watering, they are moderately drought-tolerant once established. During the initial establishment period, it is important to provide consistent moisture to help the roots establish. Once established, water the hedge deeply and infrequently, allowing the soil to dry out slightly between waterings. Adjust watering based on the weather and moisture needs of the plants.
How tall can a Murraya hedge grow?
The ultimate height of a Murraya hedge depends on the specific cultivar, pruning practices, and environmental conditions. On average, Murraya hedges can reach a height of 2-4 meters (6-13 feet) if left unpruned. However, they can be easily maintained at a shorter height through regular pruning and shaping.
Are Murraya hedges prone to pest and disease problems?
While Murraya hedges are generally resistant to many pests and diseases, they can still be affected under certain conditions. Common problems include scale insects and aphids, which can be controlled through appropriate insecticidal treatments.
Fungal diseases like leaf spots and root rot may occur if the plants are exposed to excessive moisture or poor drainage. Regular monitoring, proper cultural practices, and early intervention can help prevent and manage such issues.
 Mark Thompson
Summary
Whether for aesthetics or as a privacy plant, the Murraya hedge is worthy of all considerations. It is a fast-growing and versatile plant with lush and dense foliage that will add colour to your space. Growing Murraya is not a long shot, at least not after reading this guide. Once you have selected the right plant, follow our detailed steps to grow and care for your Murraya hedge.


